In This Article

Let’s face it: furniture can cost an arm and a leg. Whether it’s that designer couch you’re eyeing or a chic vintage dresser, the price tags often make us do a double-take. But here’s the truth—there’s an easier (and much cheaper) way to transform your space: painting your furniture. Yep, you heard that right!
Don’t toss out your old pieces just because they’re showing signs of wear and tear. With a bit of creativity and some paint, you can take that drab coffee table or mismatched chair and turn it into something fabulous. And hey, it’s not as hard as it sounds. Whether you’re a DIY novice or a seasoned pro, painting furniture can be a fun project that won’t break your budget.
Ready to roll up your sleeves? Good! Let’s dive into the magical world of painted furniture, and I promise, you’ll be amazed at what a little color can do.
In This Article
Why You Should Paint Your Furniture

The Perks: Why Settle for Boring?
Okay, let’s be real for a moment: buying brand new furniture is expensive. And let’s not even talk about shipping fees (do they ever get cheaper?). But painting your existing furniture? Now we’re talking about a way to completely change the vibe of your room without the huge price tag. Here’s why you should consider grabbing a paintbrush ASAP:
- Budget-Friendly: No need to drop half your paycheck on a new sofa. A can of paint is like a magic potion that transforms even the oldest furniture into something brand new. Plus, if you already have the furniture lying around, you’re saving big bucks.
- Endless Creative Freedom: Why settle for what everyone else has when you can make your furniture as unique as you are? From bold and funky to soft and neutral, painting gives you total creative control. Go on, be a trendsetter!
- Sustainability Vibes: It’s the ultimate eco-friendly hack. Instead of throwing out your old pieces, you’re giving them a second chance at life. You’re not just saving money—you’re saving the planet, one brushstroke at a time.
- Simple to Do: You don’t need to be a professional painter to make a noticeable difference. With the right materials and a little patience, you can totally DIY your way to a furniture makeover.
- A Little Nostalgia: There’s something special about repurposing old furniture. Maybe it’s that family heirloom chair you’ve never really liked, or that quirky table you picked up from a garage sale. When you paint it, you make it yours. It’s like giving it a second lease on life, and there’s something really cool about that.
Preparation

Okay, we all know the saying, “Measure twice, cut once.” Well, for painting furniture, it’s more like “Prep twice, paint once.” Trust me, a little prep goes a long way when it comes to making sure your project turns out beautifully. So let’s get this part right.
1. Clean Like Your Life Depends on It
First things first—clean that furniture! It’s easy to forget, but dust and grime can seriously mess with your paint job. So grab some warm soapy water (or a store-bought cleaner) and wipe down every inch of your furniture. Don’t leave any crumbs behind, or your paint will end up looking like a crumb-filled mess. Also, be sure to dry it completely before moving to the next step.
2. Sanding: The Secret to Smooth Surfaces
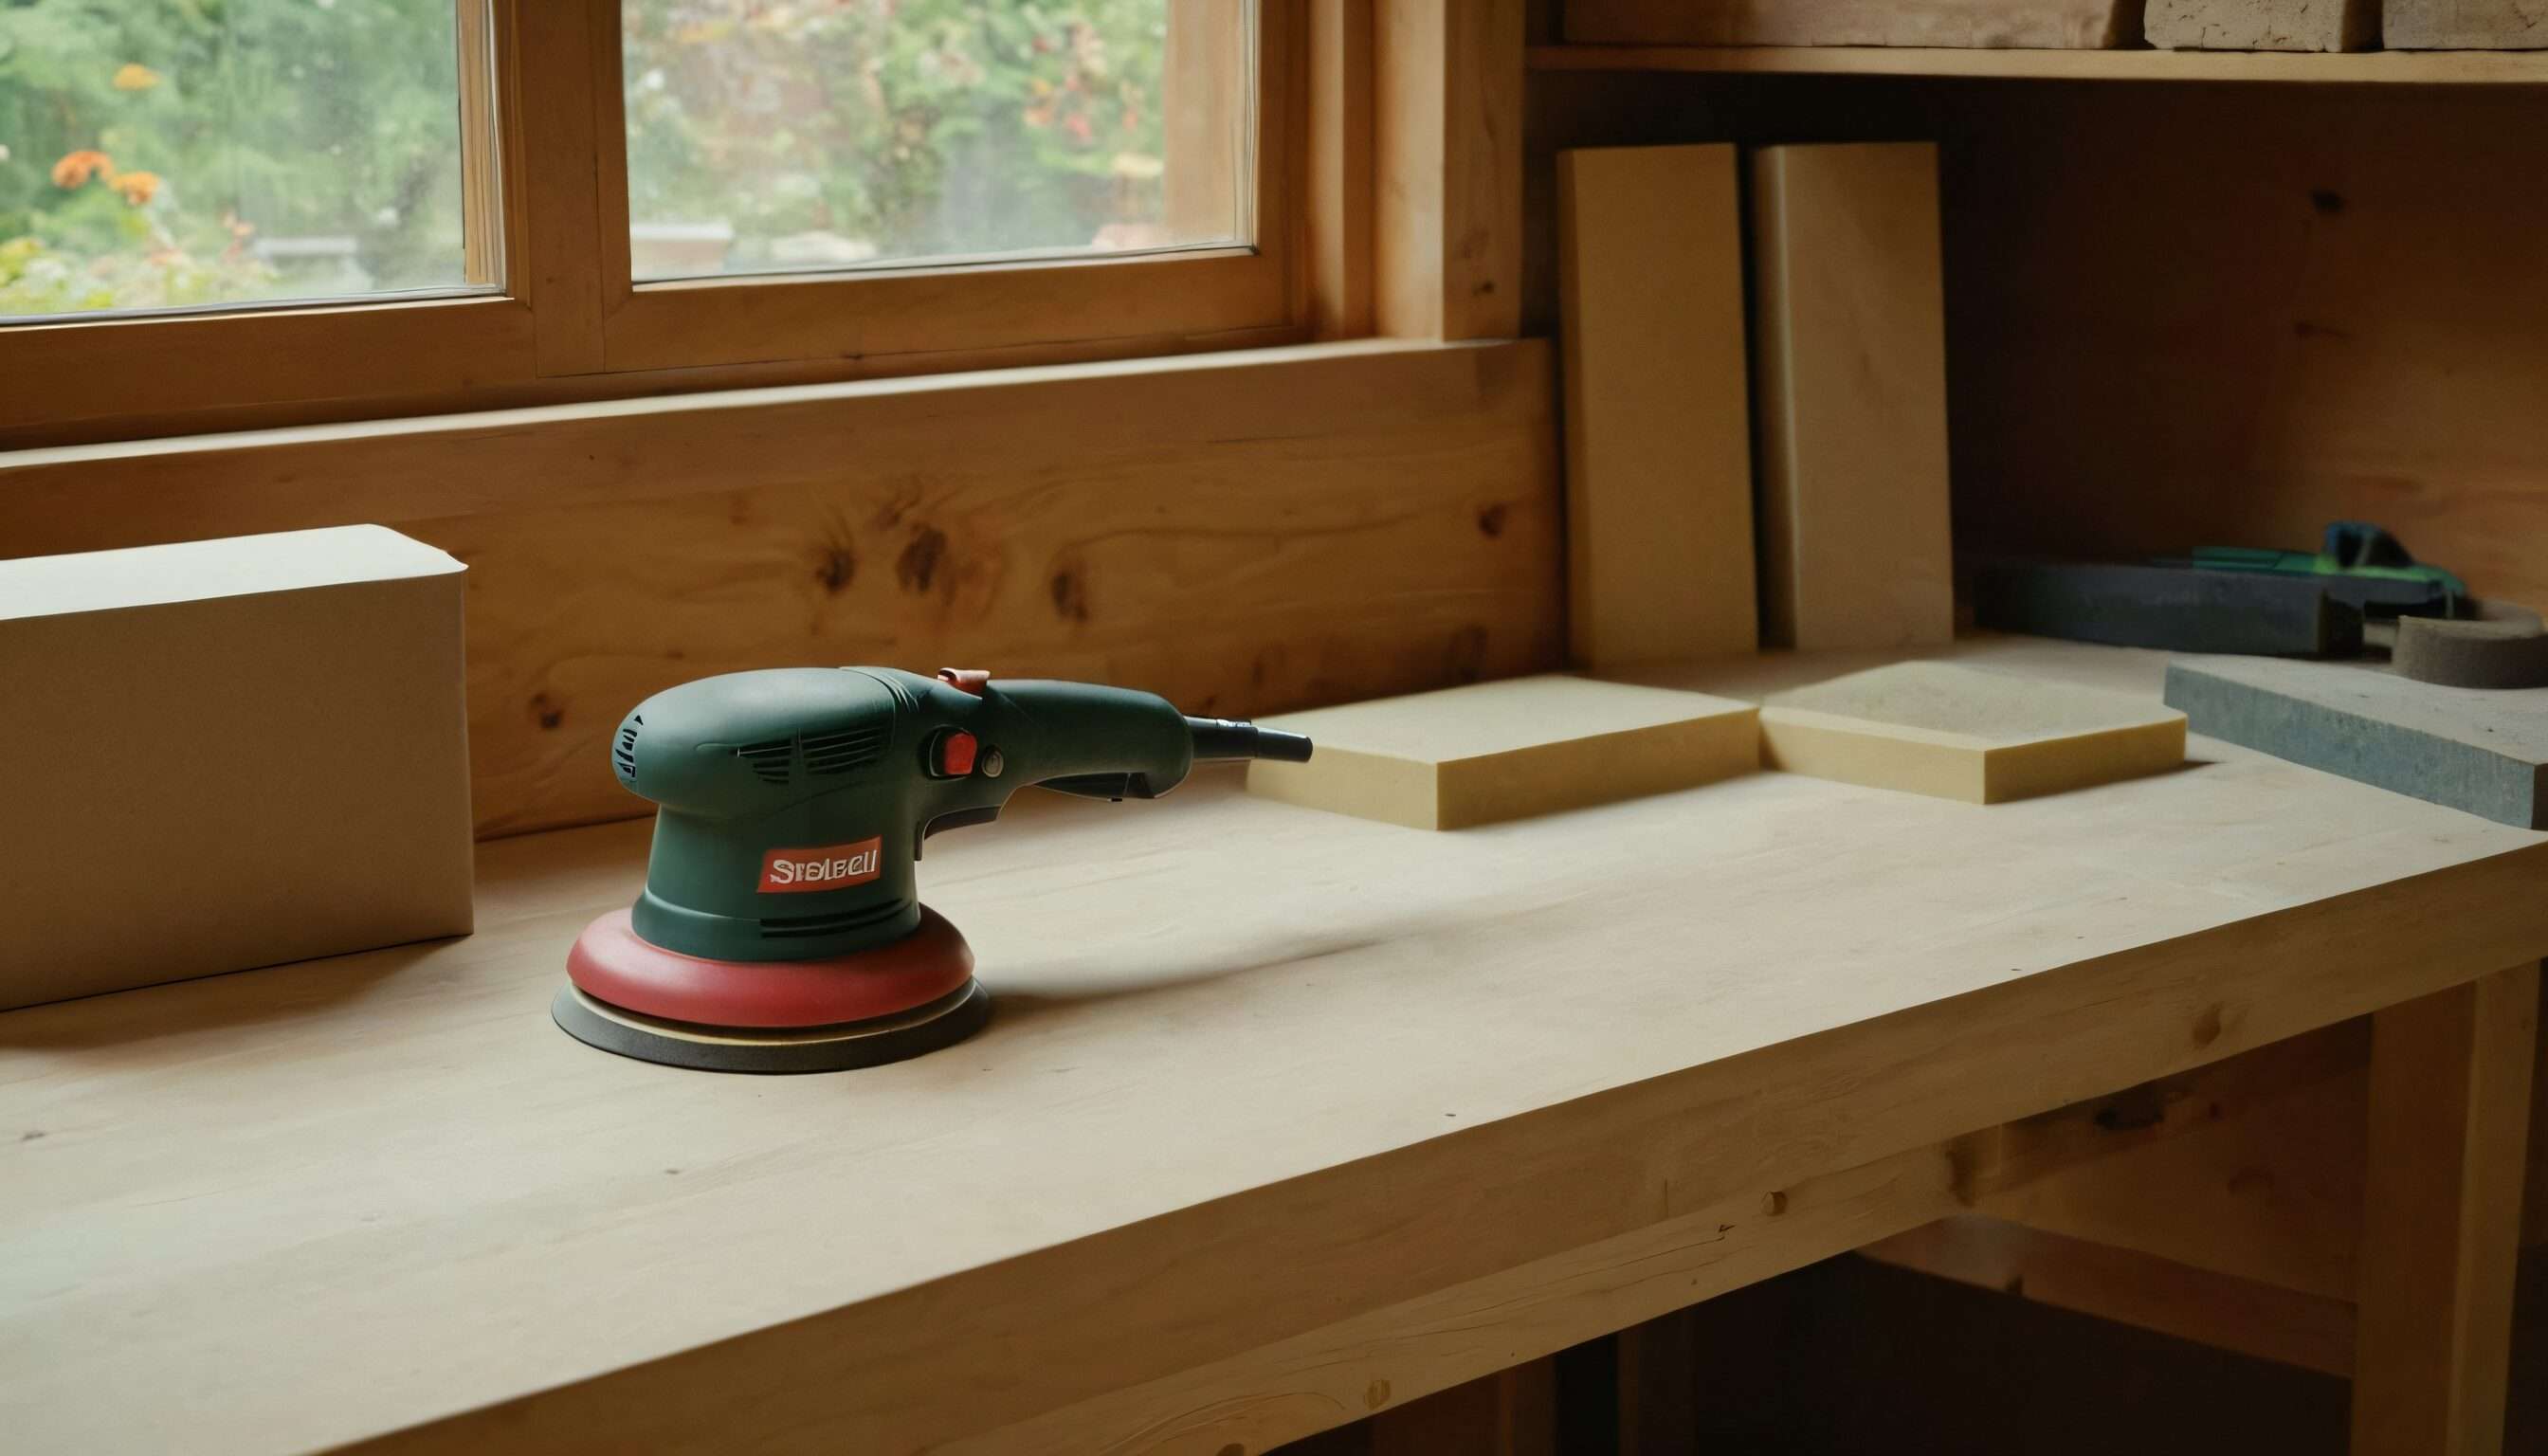
Now, let’s talk about sanding. Sure, it sounds like a chore, but think of it as giving your furniture a little spa treatment. A light sanding will help smooth out any imperfections, making sure the paint sticks like glue. Use medium-grit sandpaper to start and finish with something finer to give it a silky-smooth feel. Don’t stress over it too much, but remember: smooth = pretty paint job.
3. Prime Time
If you thought the prep work was done, think again! Applying a coat of primer before painting is like laying the foundation for a beautiful painting. Primer makes sure your paint adheres well and gives it that nice, even finish. Plus, it hides any old stains or colors peeking through.
Pro Tip: If you’re painting something dark with a light color, use a white primer to help cover the darkness. If you’re going the other way, a tinted primer might save you some coats of paint.
4. Protect Your Space (or Your Partner’s Sanity)
You don’t want to end up with splatters all over your floor, do you? Lay down a drop cloth or some newspaper to protect your workspace. It’s also a good idea to paint in a well-ventilated area (unless you want a permanent paint high, which, spoiler alert: is not as fun as it sounds).
Painted Furniture Techniques You Need to Know

Now, let’s talk about some seriously fun techniques that will make your furniture look like it belongs in a Pinterest board. There’s no “one-size-fits-all” when it comes to painting, so let your imagination run wild!
1. Chalk Paint: The Fast and Fabulous Choice
If you’re a beginner, chalk paint is your BFF. It’s super easy to use, doesn’t require a ton of prep, and gives your furniture that smooth matte finish. Want a vintage look with minimal effort? Chalk paint is basically the shortcut to perfection.
Pro Tip: After you paint, add a layer of wax to protect the surface and give it that gorgeous, subtle shine. It’s like putting a bow on a gift—extra special!
2. Milk Paint: For That Distressed, “I Found This at a Flea Market” Vibe
Love the shabby-chic style? Milk paint’s your new best friend. It creates a naturally distressed finish, giving your furniture that “worn-in” look. It’s eco-friendly, and it’s perfect for creating an authentic vintage feel.
Fun Fact: Milk paint is like a time machine—it’s perfect for replicating the look of antique furniture. So, if you’ve ever dreamed of finding a piece at a flea market, this is your DIY shortcut.
3. Ombre: Let’s Talk Color Gradients
Feeling bold? Try an ombre effect! Ombre is where the color fades from light to dark in a beautiful gradient. It’s trendy, it’s modern, and it’s sure to make your furniture a statement piece. Think of it like your favorite sunset but in paint form.
Quick Tip: Make sure you blend the colors well. You want the transition to be smooth, not like a neon sign saying “I tried to ombre but failed.” Patience is key!
4. Faux Finishes: Marble and Metallic Magic
Want to make your furniture look luxe? Try a faux finish! Marble and metallic paints can turn your table or chair into a showstopper. It’s all about making your pieces look expensive, without spending a fortune.Quick Tip: Faux marble is especially great for things like coffee tables or consoles. It gives a sophisticated vibe without the hefty price tag.
Extra Ideas to Personalize Your Furniture

Okay, now that we’ve got the basics covered, let’s get creative! Here are some extra fun ideas to really make your painted furniture pop.
1. Fabric and Paint: The Perfect Combo
Why not mix fabric and paint? If you’re working on a chair, ottoman, or even a headboard, combining painted surfaces with fabric can totally elevate the look. Picture this: a bright, bold chair frame with a comfy velvet cushion. Now that’s style!
2. Decoupage: For the Crafty at Heart
If you’re feeling crafty, decoupage is a fantastic way to add texture and personality to your painted pieces. Grab some pretty paper or fabric and glue it onto your furniture, then seal it with a clear topcoat. It’s like giving your furniture a custom makeover without needing a degree in art.
Troubleshooting

Alright, let’s be real—sometimes, things don’t go exactly as planned. But don’t panic! Here’s how to troubleshoot some common problems:
1. Uneven Coats
Sometimes, paint doesn’t go on as smoothly as you’d like. If this happens, don’t stress! Sand it lightly and add another coat of paint. Just remember: patience makes perfect.
2. Chipping or Peeling
If your paint starts to chip or peel, it’s probably because you didn’t prep or seal it properly. Always use a good primer and a protective topcoat, and your paint job will stay fresh for years to come.
3. Streaking
Streaking can happen if your paintbrush is too dry or if you’re using a spray can too close to the surface. For smooth application, make sure your brush is loaded with paint and keep it at the right distance when spraying.
Conclusion

Who knew that with a little creativity and some paint, you could turn your drab old furniture into stunning, one-of-a-kind pieces? Whether you’re into sleek modern designs or rustic charm, painted furniture gives you endless possibilities to express your style. So, what are you waiting for? Grab that paintbrush and get started—you’ve got a masterpiece waiting to happen.
Happy painting, and may your furniture always be fabulous!
Additional Resources
- WhipperBerry Painted Furniture Ideas
- The Spruce: 20 Painted Furniture Ideas
- Better Homes & Gardens: Painted Furniture Makeovers
- Reddit’s Furniture Painting Tips
FAQs
Can I paint over laminate furniture?
Absolutely! Just make sure to clean it well and sand it lightly. Laminate can be a bit tricky, but with a good primer, your paint will stick!
How long does it take for the paint to dry?
Drying time depends on the type of paint you’re using. Chalk paint dries pretty fast—usually within 30 minutes to an hour. Just make sure to give it time to cure before you start using your newly painted furniture.
Can I use regular paint or should I get special furniture paint?
You can use regular paint, but furniture paints are designed for durability. They’re made to withstand wear and tear, so if you want your pieces to last longer, it’s worth the investment.
How can I make my furniture look distressed?
For a distressed look, try dry brushing or sanding after the paint dries. You can also apply a glaze over the paint to enhance the worn-in effect.


